
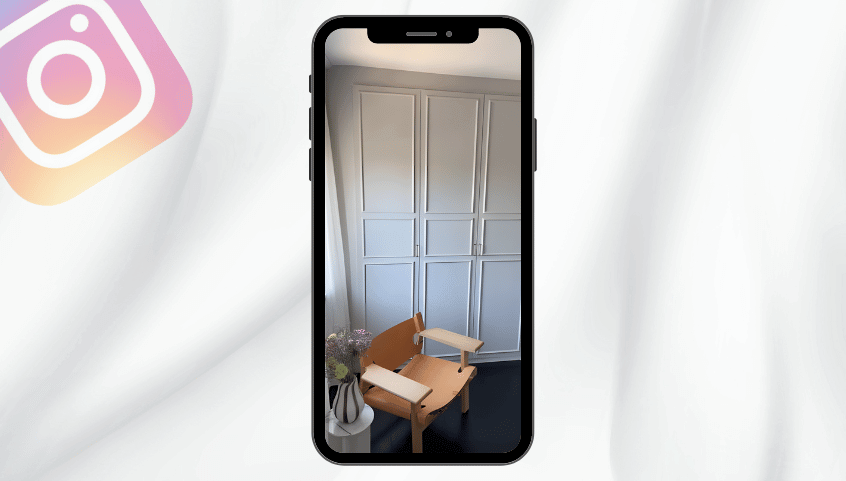
@linedupont shows us a simple but effective way to elevate your cabinet doors – by adding trim. This easy DIY project can transform your cabinets and give your space a more customized look.
View this post on Instagram
Materials Needed
- Cabinet doors
- Trim
- Mounting glue
- Acrylic grout (paintable)
- Primer
- Interior paint
- Sandpaper (grain 120)
Step-by-Step Guide
Step 1: Prep the Doors
Before you start, you need to prepare the doors. Grind the doors until they have a rough or matte finish. This will help the glue and paint adhere better.
Step 2: Cut the Trim
Next, cut your trim pieces. Make sure to cut them at an angle (miter cut) to fit together nicely at the corners of your doors.
Step 3: Mount the Trim
Use mounting glue to attach the trim pieces to the doors. Make sure they are aligned properly before the glue sets.
Step 4: Apply Acrylic Grout
Apply acrylic grout to all edges. This is a type of filler that can be painted over, giving you a smooth finish.
Step 5: Apply Primer
To ensure the final paint layer adheres well, apply a primer to the doors. This also helps to prevent the original color or wood grain from showing through the final paint layer.
Step 6: Sand Between Layers
Lightly sand the doors with grain 120 sandpaper between all layers of paint. This helps to smooth out any imperfections and ensures a sleek finish.
Step 7: Paint the Doors
Finally, paint your doors with 2-3 layers of good quality interior paint. Allow each layer to dry fully before adding the next.
Conclusion
This simple DIY project can give your cabinet doors a new lease of life and add character to your space. A big thank you to @linedupont for sharing this great idea. Happy DIY-ing!