
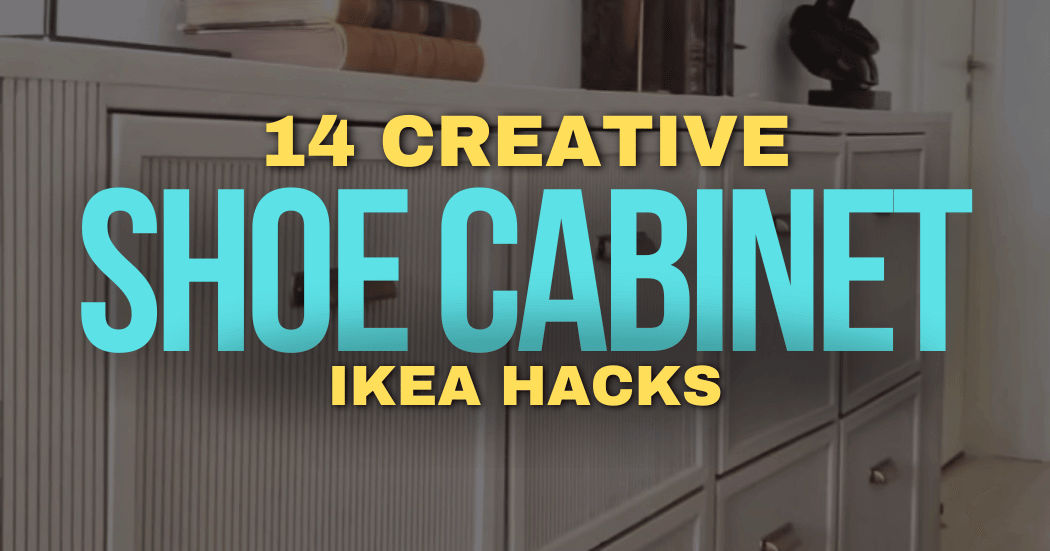
Are you searching for smart and easy shoe storage solutions? Discover these IKEA shoe cabinet hacks that provide stylish and functional storage. We often leave our shoes scattered at the doorway, creating a messy and disorganized look. The key is organizing shoes so they’re both easily reachable and neatly stored. The solution? Transform everyday IKEA items into fashionable and practical shoe storage.
These 14 clever IKEA hacks cover a range of simple to more involved DIY projects, ensuring there’s an idea for everyone. With these IKEA shoe cabinet hacks, you can eliminate shoe clutter, creating an organized and stylish space for your footwear collection
—
1. IKEA Bissa Shoe Cabinet Makeover
@parkplaceabode showcased a charming IKEA Bissa shoe cabinet hack! The paint of choice, Benjamin Moore Boothbay Gray, adds timeless elegance.
What you’ll need:
- IKEA Bissa shoe cabinet
- Benjamin Moore Boothbay Gray paint (or your chosen color)
- Paintbrush or roller
How to do it:
- Clean the cabinet thoroughly.
- Apply primer if needed.
- Paint the cabinet with your chosen color.
- Add new hardware for a finishing touch.
—
2. IKEA Stall Shoe Cabinet Upgrade
@mynorfolknest elevated her entryway with a touch of flair! Adding fluted wood trim and gold pulls to her IKEA STÄLL shoe cabinet, the transformation is stunning.
What you’ll need:
- IKEA Stall shoe cabinet
- Fluted wood trim
- Gold pulls
- Wood glue
- Screwdriver
How to do it:
- Measure and cut the fluted wood trim to fit the cabinet fronts.
- Attach the trim using wood glue.
- Replace the original handles with gold pulls.
—
3. Tiny Entryway Shoe Storage Solution
In a stroke of genius, @hanashappyhome crafted a beautiful shoe cabinet for a TINY entryway. This IKEA HACK finds its perfect home in her mom’s entryway, neatly organizing all the grandkids’ tiny shoes.
How to do it:
- Choose compact IKEA cabinets that fit your space.
- Customize the height and width as needed.
- Add a top surface for a cohesive look.
—
4. IKEA Hemnes Shoe Cabinet Hack with Woven Detail
Check out the stunning completion of @champagne.chaos’ IKEA Hemnes shoe cabinet hack! The woven part might get a black makeover eventually, but the contrast is pure perfection for now.
What you’ll need:
- IKEA Hemnes shoe cabinet
- Woven material (e.g., cane webbing)
- Staple gun
- Paint (optional)
How to do it:
- Remove the original front panel.
- Cut the woven material to size.
- Staple the material to the panel.
- Reattach the panel to the cabinet.
—
5. IKEA STÄLL Shoe Cabinet Transformation
@champagne.chaos spills the details of her IKEA STÄLL shoe cabinet hack in a blog post in her profile! With all the necessary info, this transformation deserves more than 15 seconds.
How to do it:
- Add decorative molding to the cabinet front.
- Paint the cabinet in your desired color.
- Replace the original pulls with stylish alternatives.
—
6. IKEA Hemnes Shoe Cabinet with Bamboo Accents
@parkplaceabode showed us the transformation of the jaw-dropping IKEA Hemnes shoe cabinet. Who knew bamboo bath mats and paint could turn a basic piece into this stunning furniture? Now, it defines her cozy entryway, providing guests with a chic spot for their shoes!
What you’ll need:
- IKEA Hemnes shoe cabinet
- Bamboo bath mats
- Adhesive
- Paint (optional)
How to do it:
- Cut the bamboo mats to fit the cabinet fronts.
- Adhere the mats to the cabinet doors.
- Paint the rest of the cabinet if desired.
—
7. Built-In Look for IKEA Shoe Rack
@eyeinthedetail worked magic, transforming this IKEA shoe rack from basic to built-in brilliance! She’s taken this piece to new heights in her home with a natural wood shelf, matching drawer pulls featuring brass details, and beautiful trim.
What you’ll need:
- IKEA shoe rack
- Wood for shelving and trim
- Paint or stain
- Brass drawer pulls
How to do it:
- Build a frame around the shoe rack for a built-in look.
- Add a natural wood shelf on top.
- Install trim for a polished appearance.
- Add brass drawer pulls for elegance.
—
8. Modern IKEA Shoe Cabinet Makeover
Check out the amazing makeover by @do.it.yourself.mum! She effortlessly turned an old IKEA shoe cabinet into a stylish and modern masterpiece. Simple techniques have a big impact!
How to do it:
- Sand the cabinet to prepare for painting.
- Apply a modern color of your choice.
- Add new, minimalist hardware.
—
9. Floating IKEA STÄLL Shoe Cabinet
@collettes_home transforms two IKEA STÄLL shoe cabinets into a chic, floating storage masterpiece! Using bendable plywood, screws, and a creative touch, she not only enhances functionality but also crafts an aesthetically pleasing furniture piece.
What you’ll need:
- Two IKEA STÄLL shoe cabinets
- Bendable plywood
- Screws
- Wall mounting hardware
How to do it:
- Mount the STÄLL cabinets to the wall, leaving space between them.
- Use bendable plywood to create a curved front, connecting the cabinets.
- Secure the plywood and add finishing touches.
—
10. IKEA TRONES Shoe Cabinet Trio
Check out the creative touch of @aziza_ziiya as she lines up 3 TRONES shoe cabinets, topping them with a wood shelf to take this setup to the next level!
What you’ll need:
- Three IKEA TRONES shoe cabinets
- Wood shelf
- Mounting hardware
How to do it:
- Install three TRONES cabinets side by side.
- Add a wood shelf on top to unify the piece.
- Secure the shelf to the wall and cabinets.
—
11. IKEA BISSA Shoe Cabinet Customization
@diybydna is taking us on a captivating journey hacking the IKEA BISSA shoe cabinet in stories, and it’s shaping up to be SO GOOD!
How to do it:
- Paint the cabinet in your desired color.
- Add decorative elements like molding or wallpaper.
- Replace knobs with unique pulls.
—
12. Built-In IKEA Hemnes Shoe Cabinet
@andrea__johnsson showcased her genius by combining two Hemnes shoe cabinets for a customized built-in look. Wood trim overlay, a beautiful top surface, and a classic gold door pull elevate the style.
What you’ll need:
- Two IKEA Hemnes shoe cabinets
- Wood trim
- Wood for the top surface
- Gold door pulls
How to do it:
- Place two Hemnes cabinets side by side.
- Add wood trim to create a built-in appearance.
- Install a wood top for a seamless look.
- Replace original handles with gold pulls.
—
13. Stained IKEA Cabinet for Laundry Room Shoe Storage
@breeyashade transformed an IKEA cabinet with careful staining and alignment. Now residing in her laundry room, this shoe cabinet has become her favorite piece of furniture.
How to do it:
- Choose an IKEA cabinet that fits your space.
- Stain the wood for a rich finish.
- Ensure proper alignment for a polished look.
—
14. Rattan IKEA Hemnes Shoe Cabinet Upgrade
@madamelena_home effortlessly turns the Hemnes shoe cabinet into a chic showstopper. This hack elevates the cabinet’s aesthetic with a clever mix of rattan, painted wood strips, and a meticulous wax finish.
What you’ll need:
- IKEA Hemnes shoe cabinet
- Rattan webbing
- Wood strips
- Paint and wax finish
How to do it:
- Remove the original cabinet fronts.
- Apply rattan webbing to the new fronts.
- Add painted wood strips for texture.
- Finish with a wax coating for protection.
—
Conclusion
As we wrap up “Step into Style: 14 Creative IKEA Shoe Cabinet Transformations,” it’s clear that anyone can transform regular IKEA pieces into personalized and stylish shoe storage solutions with a sprinkle of creativity and a pinch of effort. Each hack provides unique ideas, catering to various needs and tastes.
No longer worrying about shoe clutter or tripping over slip-ons and heels. These hacks have you covered. Regardless of the size of your shoe collection or your space, there’s a solution among these 15 IKEA transformations that’s perfect for you!
Remember, it’s not how many shoes you have; how you store them matters. And with these DIY transformations, you’ll be stepping into a realm where style meets organization. Here’s to creating a space that reflects your style and brings joy whenever you enter your home. Cheers, and happy organizing!