
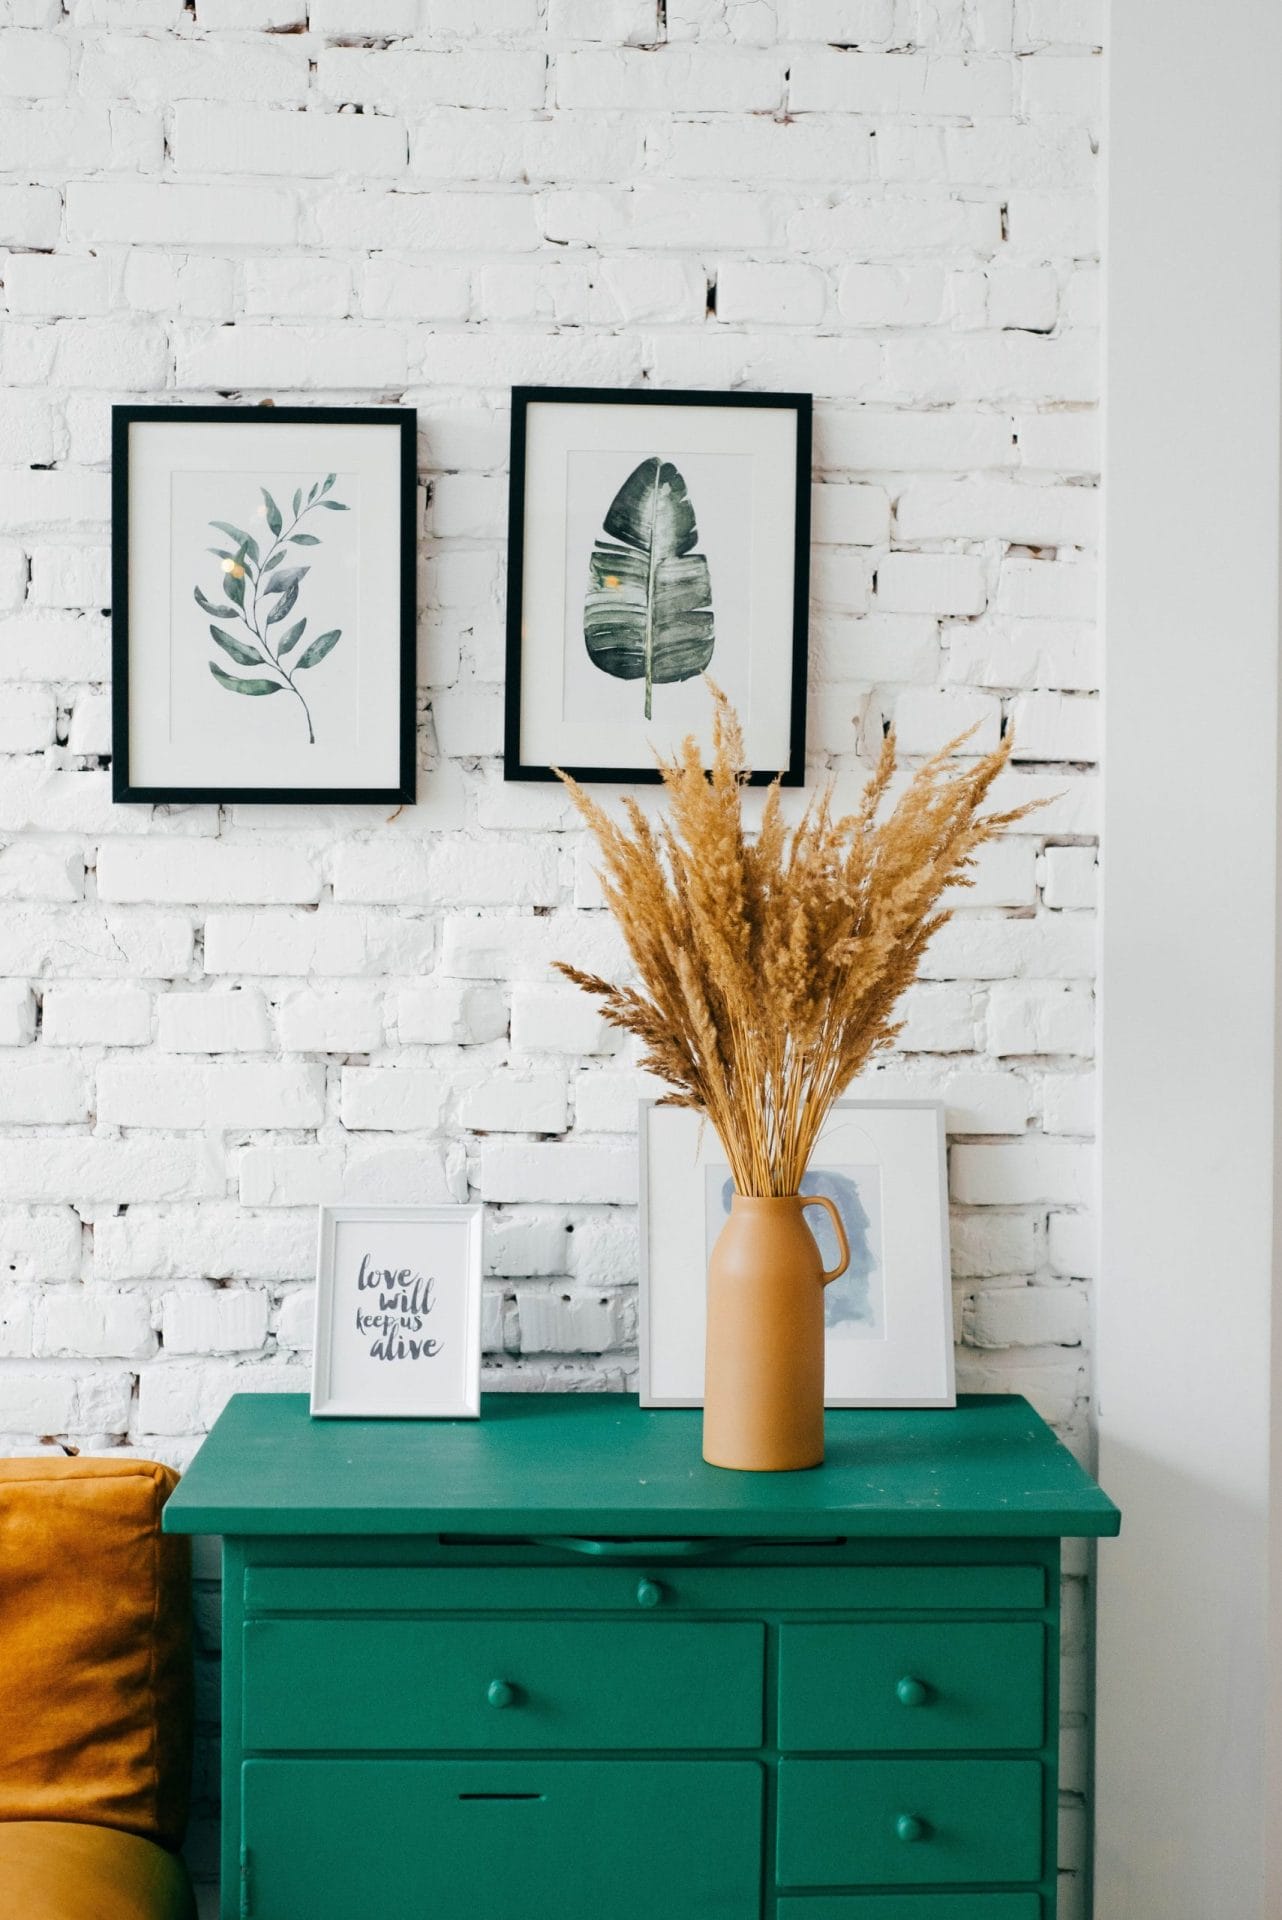
IKEA Ribba frames are a staple in modern interior design, blending effortlessly with various decors. Yet, once they’re in your possession, there’s a task at hand: how can you flawlessly display them?
Goals for this IKEA Ribba Frame Guide
- Determine the frame’s ideal position.
- Assemble your toolkit.
- Understand the detailed preparation process.
- Learn to achieve the perfect layout.
- Master the art of hanging.

Choosing the Ideal Location
Wall Texture and Type
- Understand your wall: drywall, plaster, or brick. This aids in selecting the right tools.
- Drywall: Requires wall anchors.
- Plaster/Brick: Might necessitate specific hooks.
Environmental Factors
- Sunlight: Minimize direct exposure to prevent fading.
- Humidity: Ideally, keep frames away from moisture-rich areas.
Assembling Your Toolkit
- Hammer
- Measuring tape or ruler
- Level
- Pencil
- Wall anchors (for drywall)
- Screws or specialized picture hooks
- Painter’s tape
- Large sheets of paper (like wrapping paper or newspaper)
- Scissors
Detailed Preparation with Pen and Paper
- Gathering Materials: Start with a pen (or pencil), a ruler or measuring tape, and a sufficiently large piece of paper.
- Sketching the Frame: Lay your frame on paper, tracing its outline.
- Cutting Out Templates: After tracing, cut out the shapes to produce paper templates.
- Locating the Hook/String: Examine the back of your frame to find the hook or string.
- Measuring the Distance: Measure from the frame’s top edge to the hook or string.
- Transferring the Measurement: Use this measurement on your template, marking the exact hanging spot.
Note: The IKEA Ribba 13080 features a hook and wire bracket system, offering a straightforward setup.


Perfecting the Layout
- Preliminary Floor Layout: Begin by laying your templates on the floor, allowing for easy rearrangements.
- Transferring to the Wall: Transfer the desired layout from floor to wall using painter’s tape.
- Adjusting on the Wall: Reassess the layout once on the wall and adjust as needed.
- Marking and Mounting: With the right positioning, mount hooks or nails using the marks on the templates as guides.
- Removing Templates and Hanging: After mounting, gently remove templates and hang your frames.
Enhancing the Ribba Experience
Experiment with Frame Sizes
- Explore Ribba’s diverse sizes for a dynamic display.
- Example: Pair two 12×16 inch frames with a central 20×28 inch frame for a focal point.
Ensure Consistent Spacing
- For a gallery wall effect, maintain uniform spaces, like consistent 5-inch gaps between frames.
Prioritize Safety
- Especially on drywall, always utilize wall anchors for stability.
Concluding Thoughts
Hanging the IKEA Ribba frame isn’t just about putting it on a wall. It’s an art that combines the right tools, meticulous preparation, and a sense of design. Here’s to impeccable interiors with Ribba!