
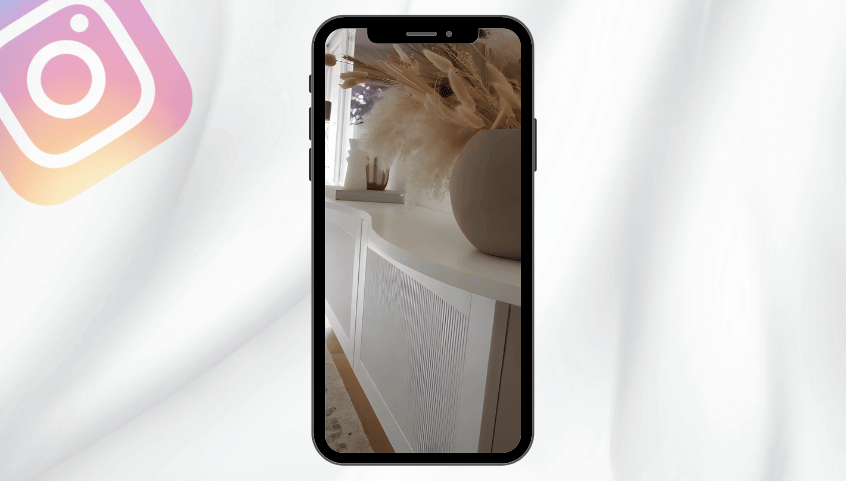
With a bit of imagination, paint, and some DIY spirit, you can transform ordinary IKEA furniture into a standout piece. Let’s explore how @our_bears_home turned an IKEA BESTÅ unit into a chic and stylish furniture piece.
Materials Required
Here’s what you’ll need for this project:
- IKEA BESTÅ units: shelf, SINDVIK glass door, RIBBA frame, STUBBARP leg, TV bench, soft closing/push-open hinge
- B.I.N Zinsser primer
- Furniture paint (Rust-Oleum Chalky finish in natural charcoal is recommended)
- 6mm MDF
- Sandpaper
- Lacquer
- Gorilla glue
The Makeover Process
- Assembly: Start by assembling your IKEA BESTÅ cabinet as per the instructions provided.
- Priming: Prime the top and sides of the cabinet with B.I.N Zinsser primer. This primer will provide a good base for your paint.
- Painting: After the primer has dried, paint the unit. @our_bears_home used Rust-Oleum Chalky finish furniture paint in the color natural charcoal. Remember to apply two coats for an even finish and let it dry.
- Prep MDF for Doors: Cut 6mm MDF to fit in the glass section of the SINDVIK doors. Draw an arch shape on each one. @our_bears_home used a new toilet seat to get the perfect arch shape!
- Sand and Paint MDF: Once you’ve cut out the arches, sand the edges for a smooth finish. Paint the MDF using the same paint as the cupboards.
- Paint Door Frames: Paint the SINDVIK door frames to match the rest of the unit.
- Seal: Seem all painted areas with lacquer once the paint is dry.
- Attach MDF to Doors: Apply Gorilla glue to the edges of the arches and stick them to the door frames.
- Final Assembly: Attach the doors to the unit, and voila! You now have a unique, stylish BESTÅ unit ready to style and show off.
Conclusion
And there you have it! A stylish, personalized IKEA BESTÅ unit that adds a touch of elegance to any room. This DIY project shows how you can transform basic IKEA furniture into a unique piece that reflects your style with a little creativity and elbow grease.