
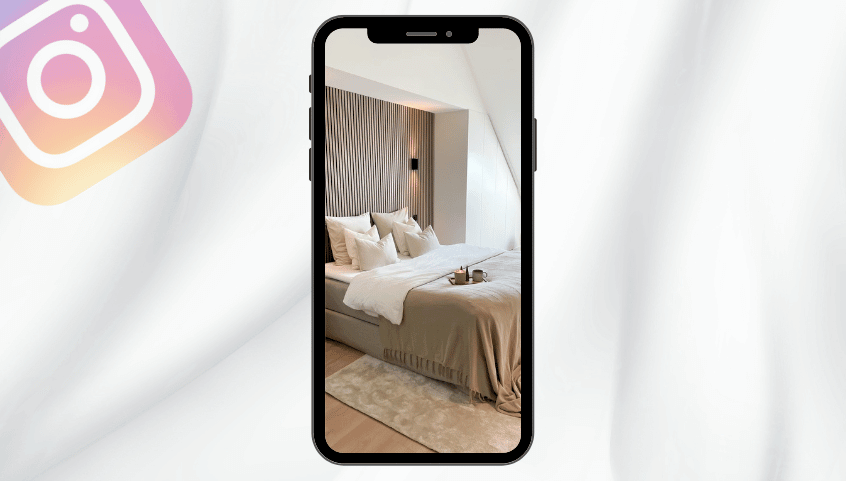
One such impressive transformation is by @bijrebecca, who used the IKEA Pax to create a stunning wall cabinet. The meticulous details and ingenuity demonstrated in this project are sure to inspire your next home DIY.
Materials Required
Here’s what you’ll need for this DIY transformation:
- IKEA Pax
- A sturdy saw
- Gypsum boards
- Hinges
- Paint (preferably white)
- High skirting board
- Wall panel from @noakk.nl
- Electrical supplies for lighting, dimmer, and sockets
With the materials ready, let’s dive into the step-by-step guide.
Step-by-Step Guide to Creating Your Wall Cabinet
STEP 1: Please note:
This guide has been translated from Dutch and adjusted for clarity.
STEP 2: Create a Base:
Start by building a sturdy base for your cabinets. This will ensure they are level and stable.
STEP 3: Begin with the Tallest Cabinet:
Place the tallest cabinet first, and construct a skeleton for the gypsum boards above it, reaching up to the ceiling.
STEP 4: Gradually add the Other Cabinets:
Cut the remaining cabinets to the required size and add them gradually, decreasing in height. The wood of an IKEA cabinet is delicate, so ensure you’re using a good-quality saw.
STEP 5: Attach a Strip:
Attach a strip along all the cabinets. This will be useful during the finishing process, particularly around the doors.
STEP 6: Prepare and Attach the Doors:
Cut the doors to the required size, and attach the hinges in the correct places. Given the fragility of the doors, using a new saw is advisable.
STEP 7: Cover the Skeleton with Gypsum Boards:
Once the cabinet structure is ready, close the skeleton using gypsum boards.
STEP 8: Finishing Touches:
Stucco the skeleton, then paint it the same color as the cabinets. Install a high skirting board underneath the cabinets for a neat finish.
STEP 9: Install the Wall Panel:
Between the cabinets, install a beautiful wall panel from @noakk.nl. Attach slats to the wall with electrical wiring behind them to do this. This allows for the installation of lighting, a dimmer, and sockets.
Conclusion
Voila! You’ve transformed the IKEA Pax into a unique and stylish wall cabinet. This DIY project boosts your storage options and adds a bespoke touch to your decor. Remember, the beauty of IKEA hacks lies in their versatility – feel free to adapt this guide to your own tastes and space. Happy crafting!